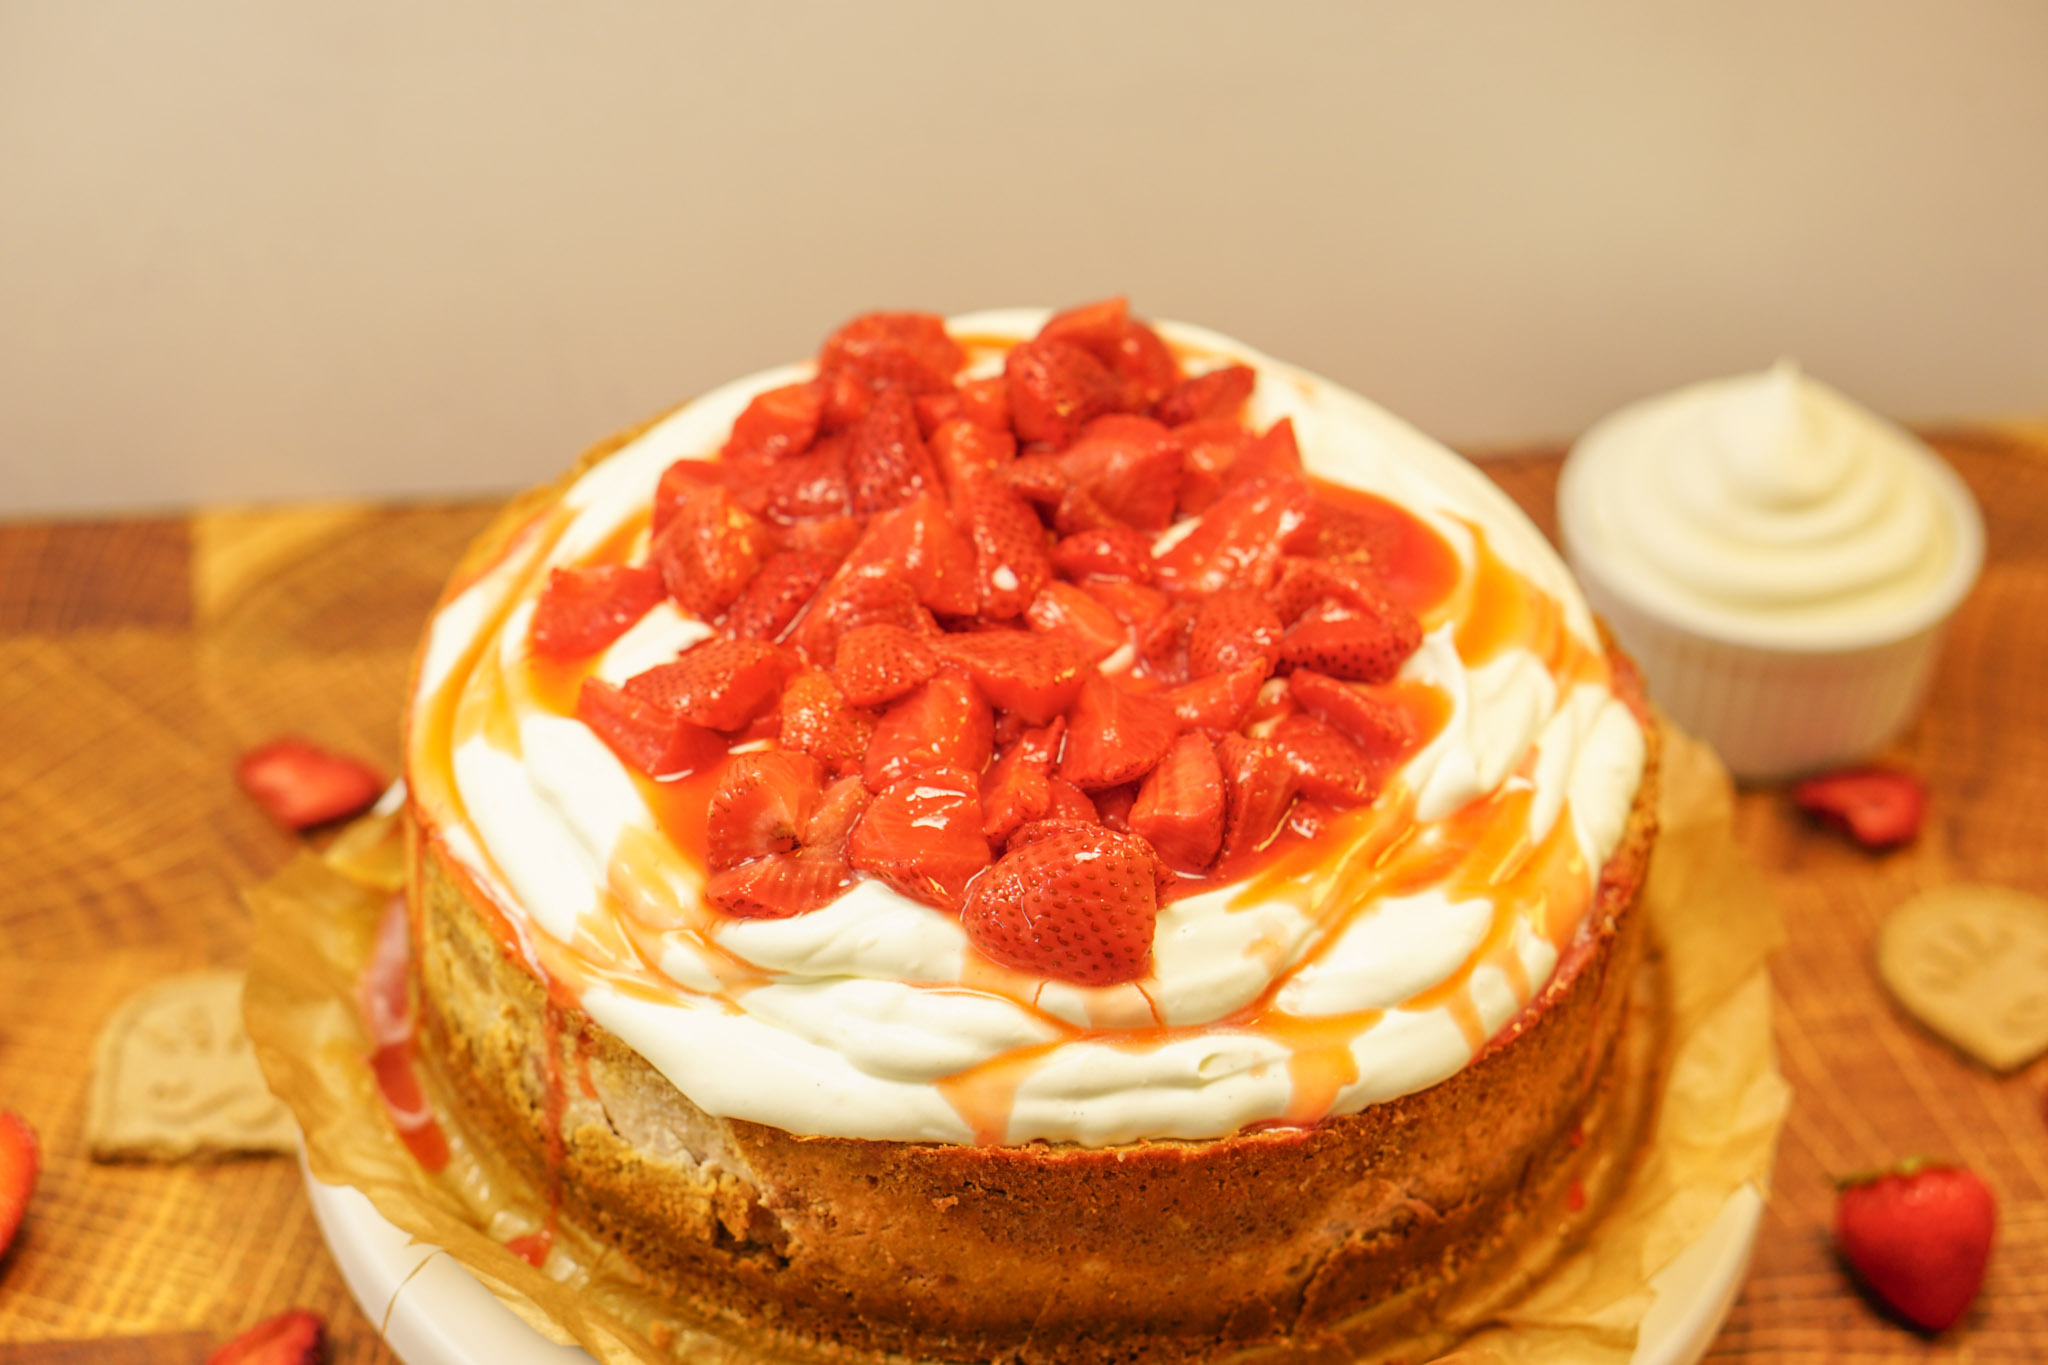
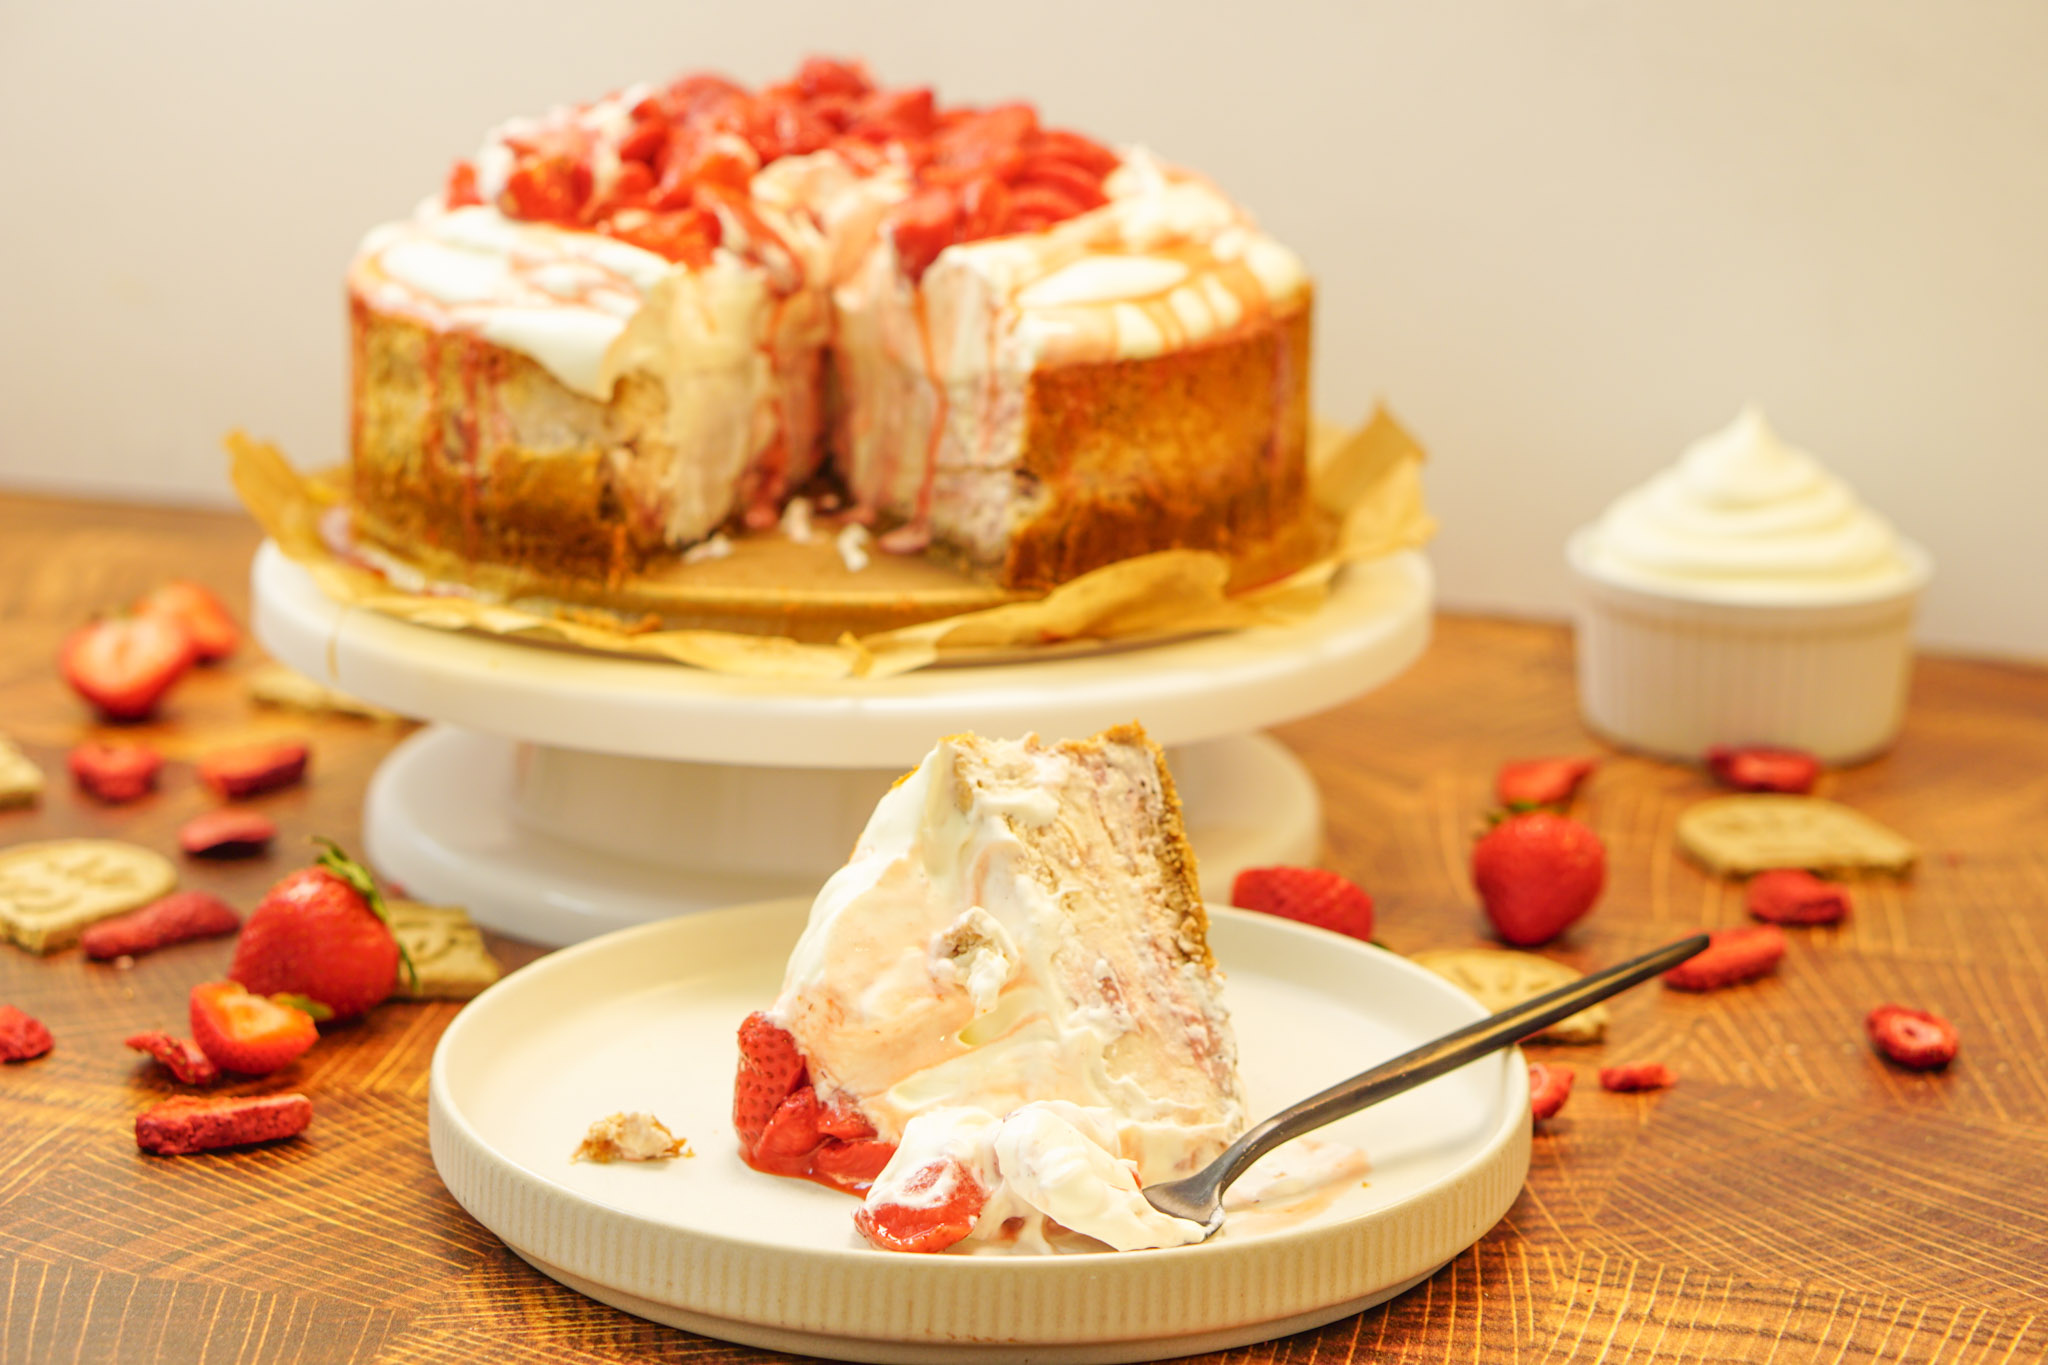
Gluten Free Roasted Strawberry Cheesecake Recipe

1
Add to Favorites
Ingredient
Graham Cracker Crust
Roasted Strawberries
Cheesecake Filling
Whipped Cream
Instructions
-
Graham Cracker Crust
- In a medium bowl, mix 3 Cups (420g) Finely Ground Graham Crackers, ½ Cup (100g) Granulated Sugar, and a Pinch Of Kosher Salt.
- Stir in ¾ Cup (165g) Unsalted Butter, Melted, until the mixture resembles wet sand.
- Press the mixture firmly into the bottom and up the sides of the 8-inch springform pan, using a flat-bottomed glass or measuring cup to get an even layer.
- Bake at 350°F (175°C) for 8–10 minutes, then let cool before adding filling.
-
Roasted Strawberries
- Keep oven at 350°F.
- Hull and slice roughly 3lbs of Fresh Strawberries. Place on a baking sheet lined with parchment.
- Toss with the juice of 1 Lemon and 2 Tbsp Granulated Sugar.
- Roast for 25–30 minutes, stirring once, until syrupy and fragrant. Let cool, then lightly mash to measure about 1¾ Cups for the filling.
-
Cheesecake Filling
- In a large mixing bowl, beat 4 Blocks (8oz Each) Cream Cheese until smooth, about 2–3 minutes.
- Add ¾ Cup (150g) Granulated Sugar and 2 Tbsp Cornstarch, beating until fluffy.
- Mix in ½ Cup (120g) Sour Cream, Room Temp and 2 Tsp Vanilla Extract.
- Add 3 Large Eggs, Room Temp, one at a time, mixing just until combined.
- Fold in 1¾ Cups Roasted Strawberries until evenly distributed.
- Pour the batter over the cooled crust and smooth the top.
- Reduce oven temperature to 325°F.
- Prepare a water bath by placing a roasting pan on the bottom rack of your oven, fill with 6 cups of boiling water and bake for 1 hour and 15 minutes, or until the edges are set but the center still jiggles slightly.
- Turn off the oven, crack the door, and let cheesecake cool inside for 1 hour. Then remove, cool to room temp for at least 30 minutes, and refrigerate at least 4–6 hours or overnight.
-
Whipped Cream Topping
- In a large chilled bowl, beat 4oz Cream Cheese, Room Temp until creamy.
- Add 2 Cups (480g) Heavy Whipping Cream and whip until thickened.
- Mix in 2 Tbsp Powdered Sugar and 1 Tsp Vanilla Extract. Whip to stiff peaks.
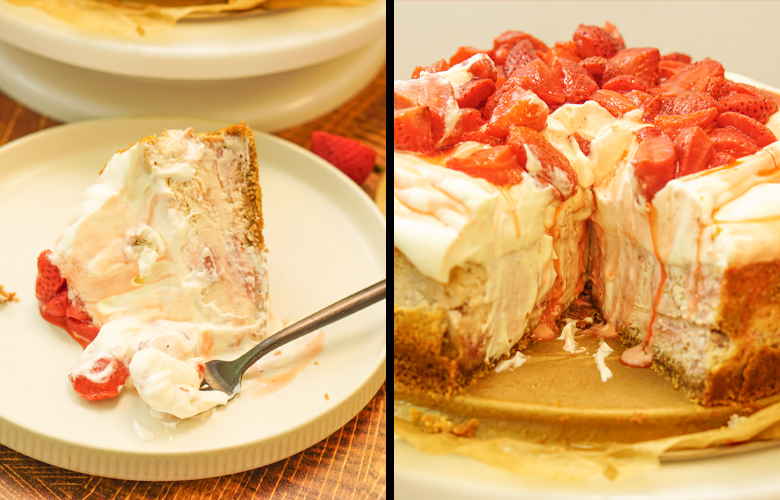
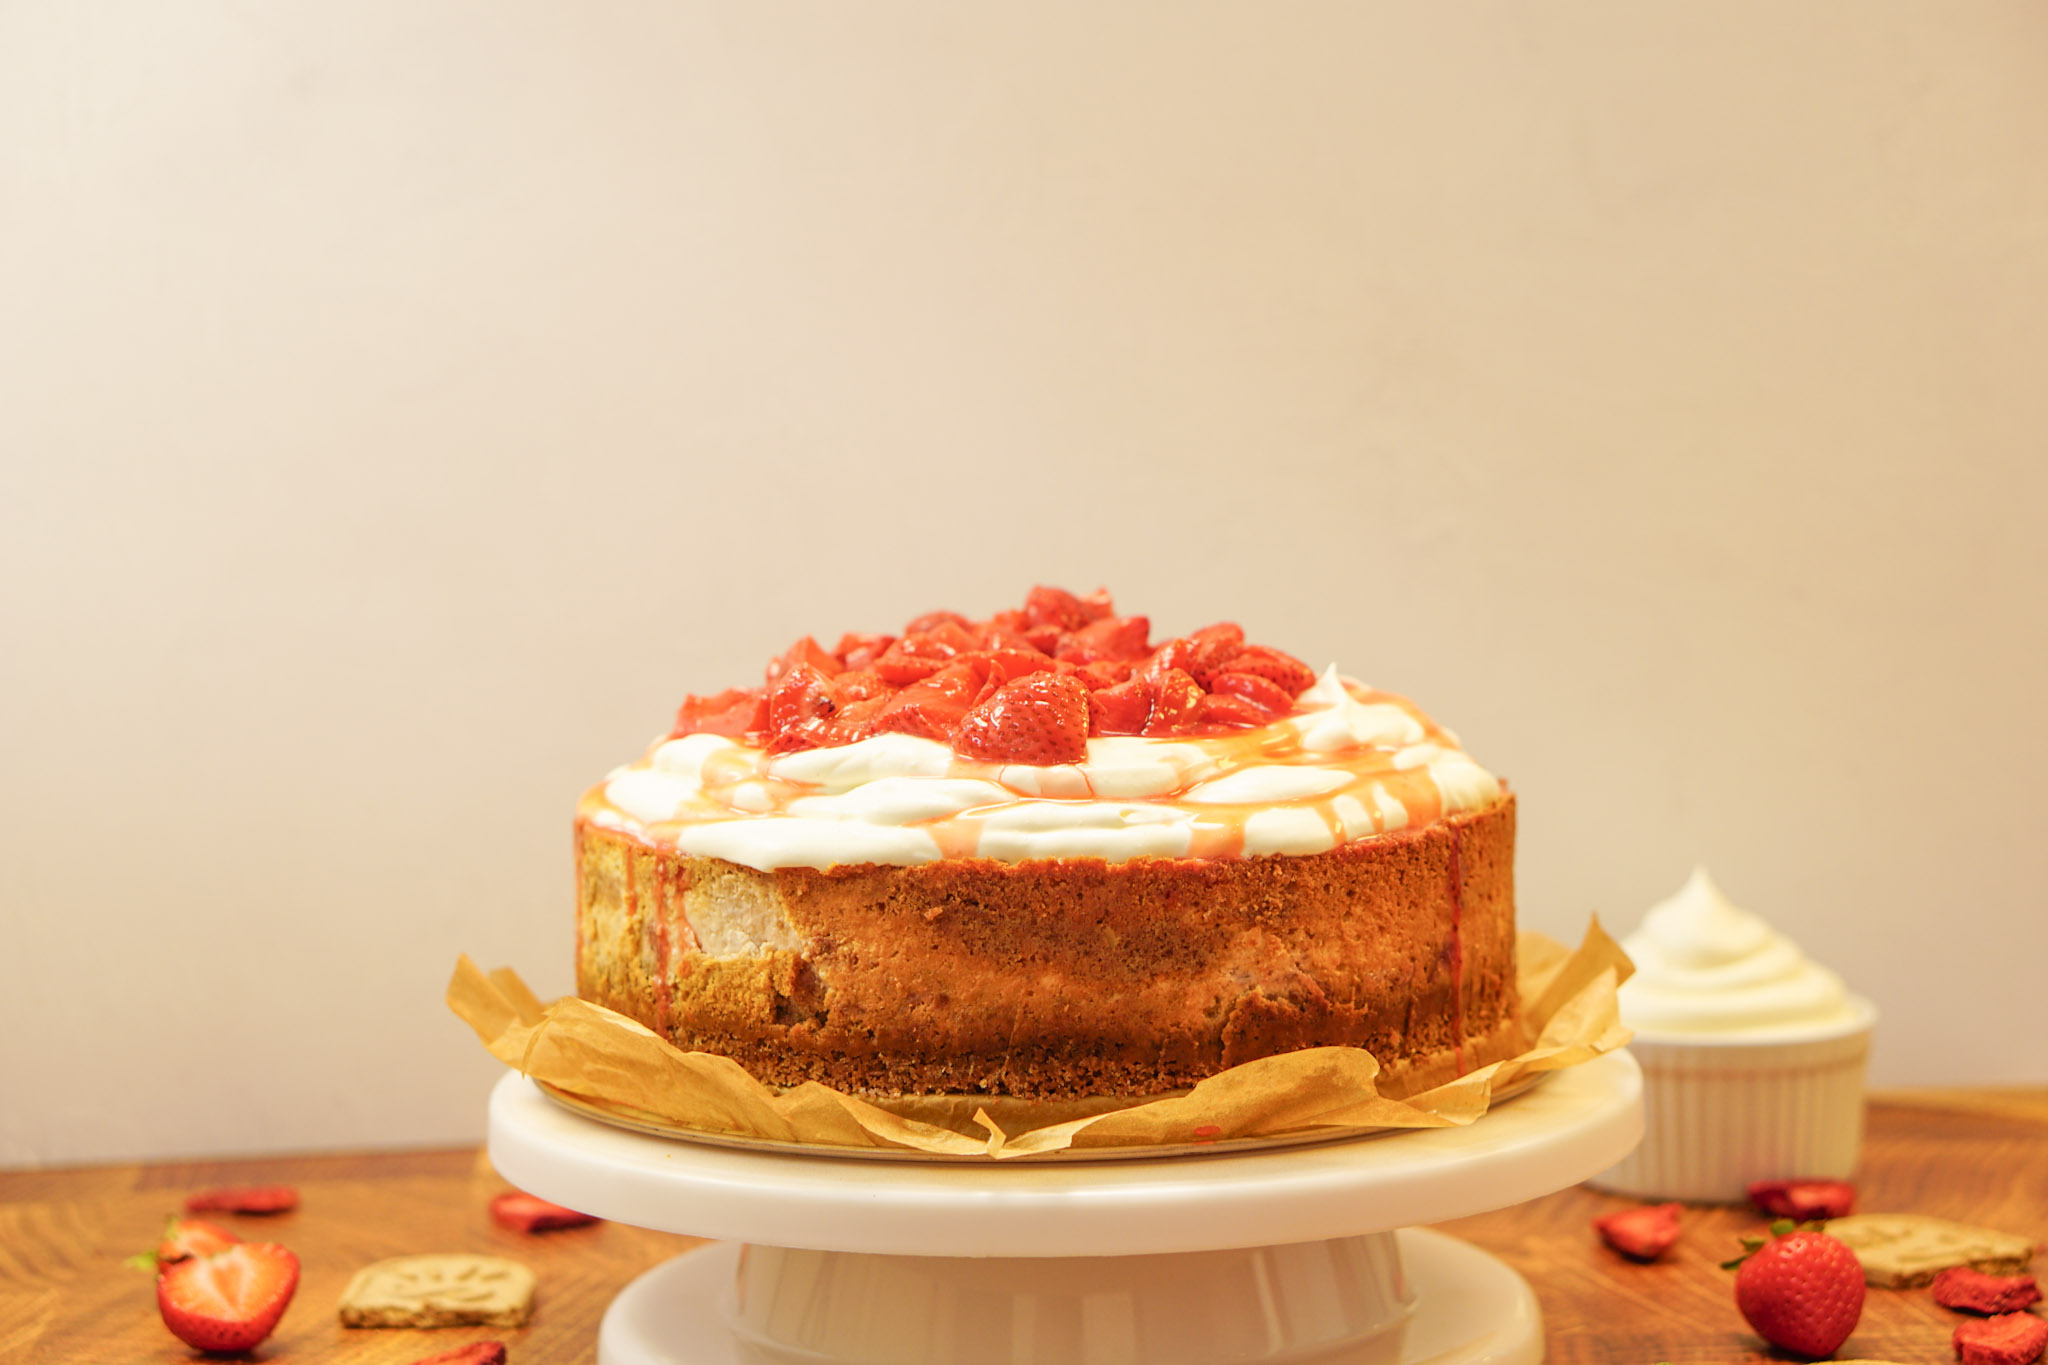
- Spread or pipe over the chilled cheesecake. Garnish with extra roasted strawberries if desired.
-
Total Time
Prep Time: 35 minutes
Cook Time: 1 hour 15 minutes
Cool Time: 5–7 hours (includes oven cooling + refrigeration)
Total Time: 7–8 hours
Servings: 12–14 slices
Calories per Serving: 430 calories
Note
Gluten-Free