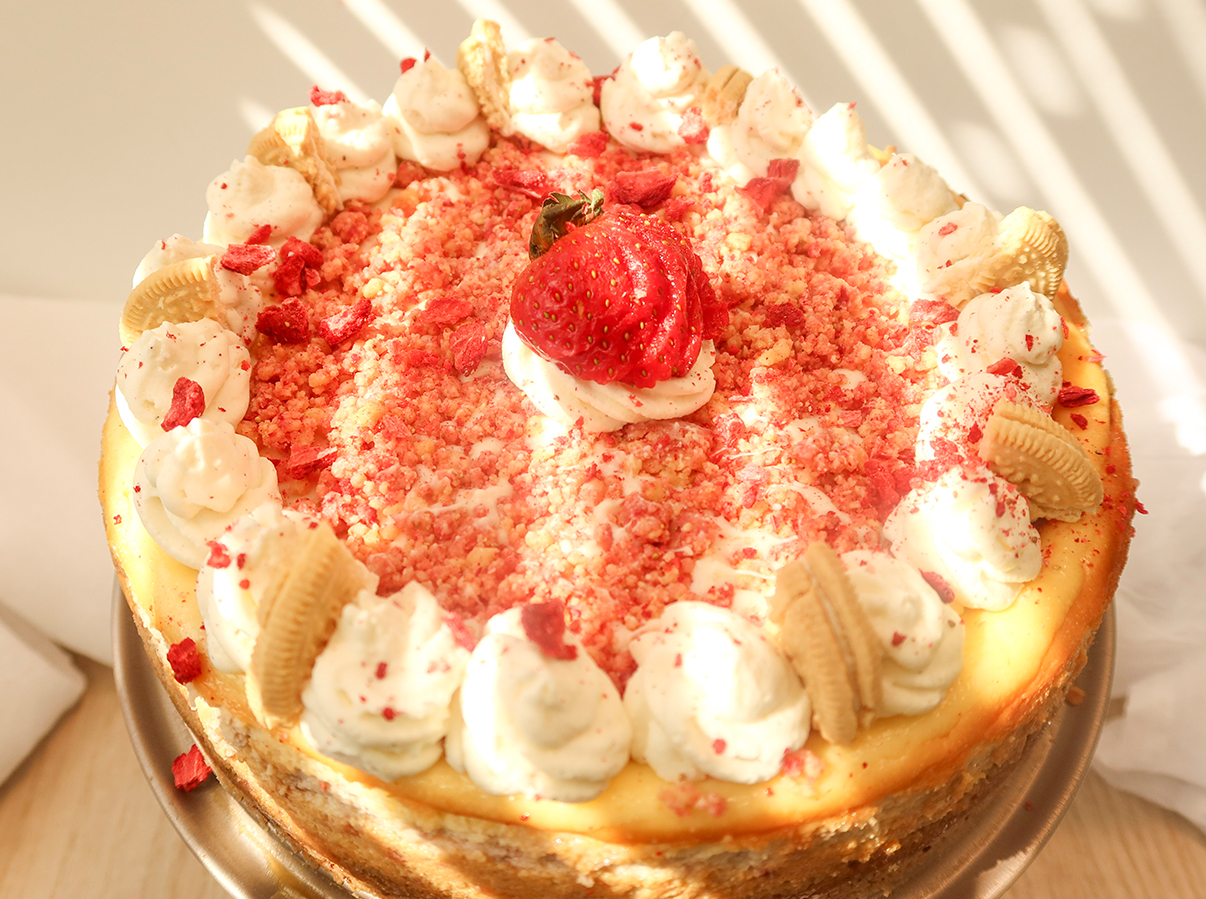

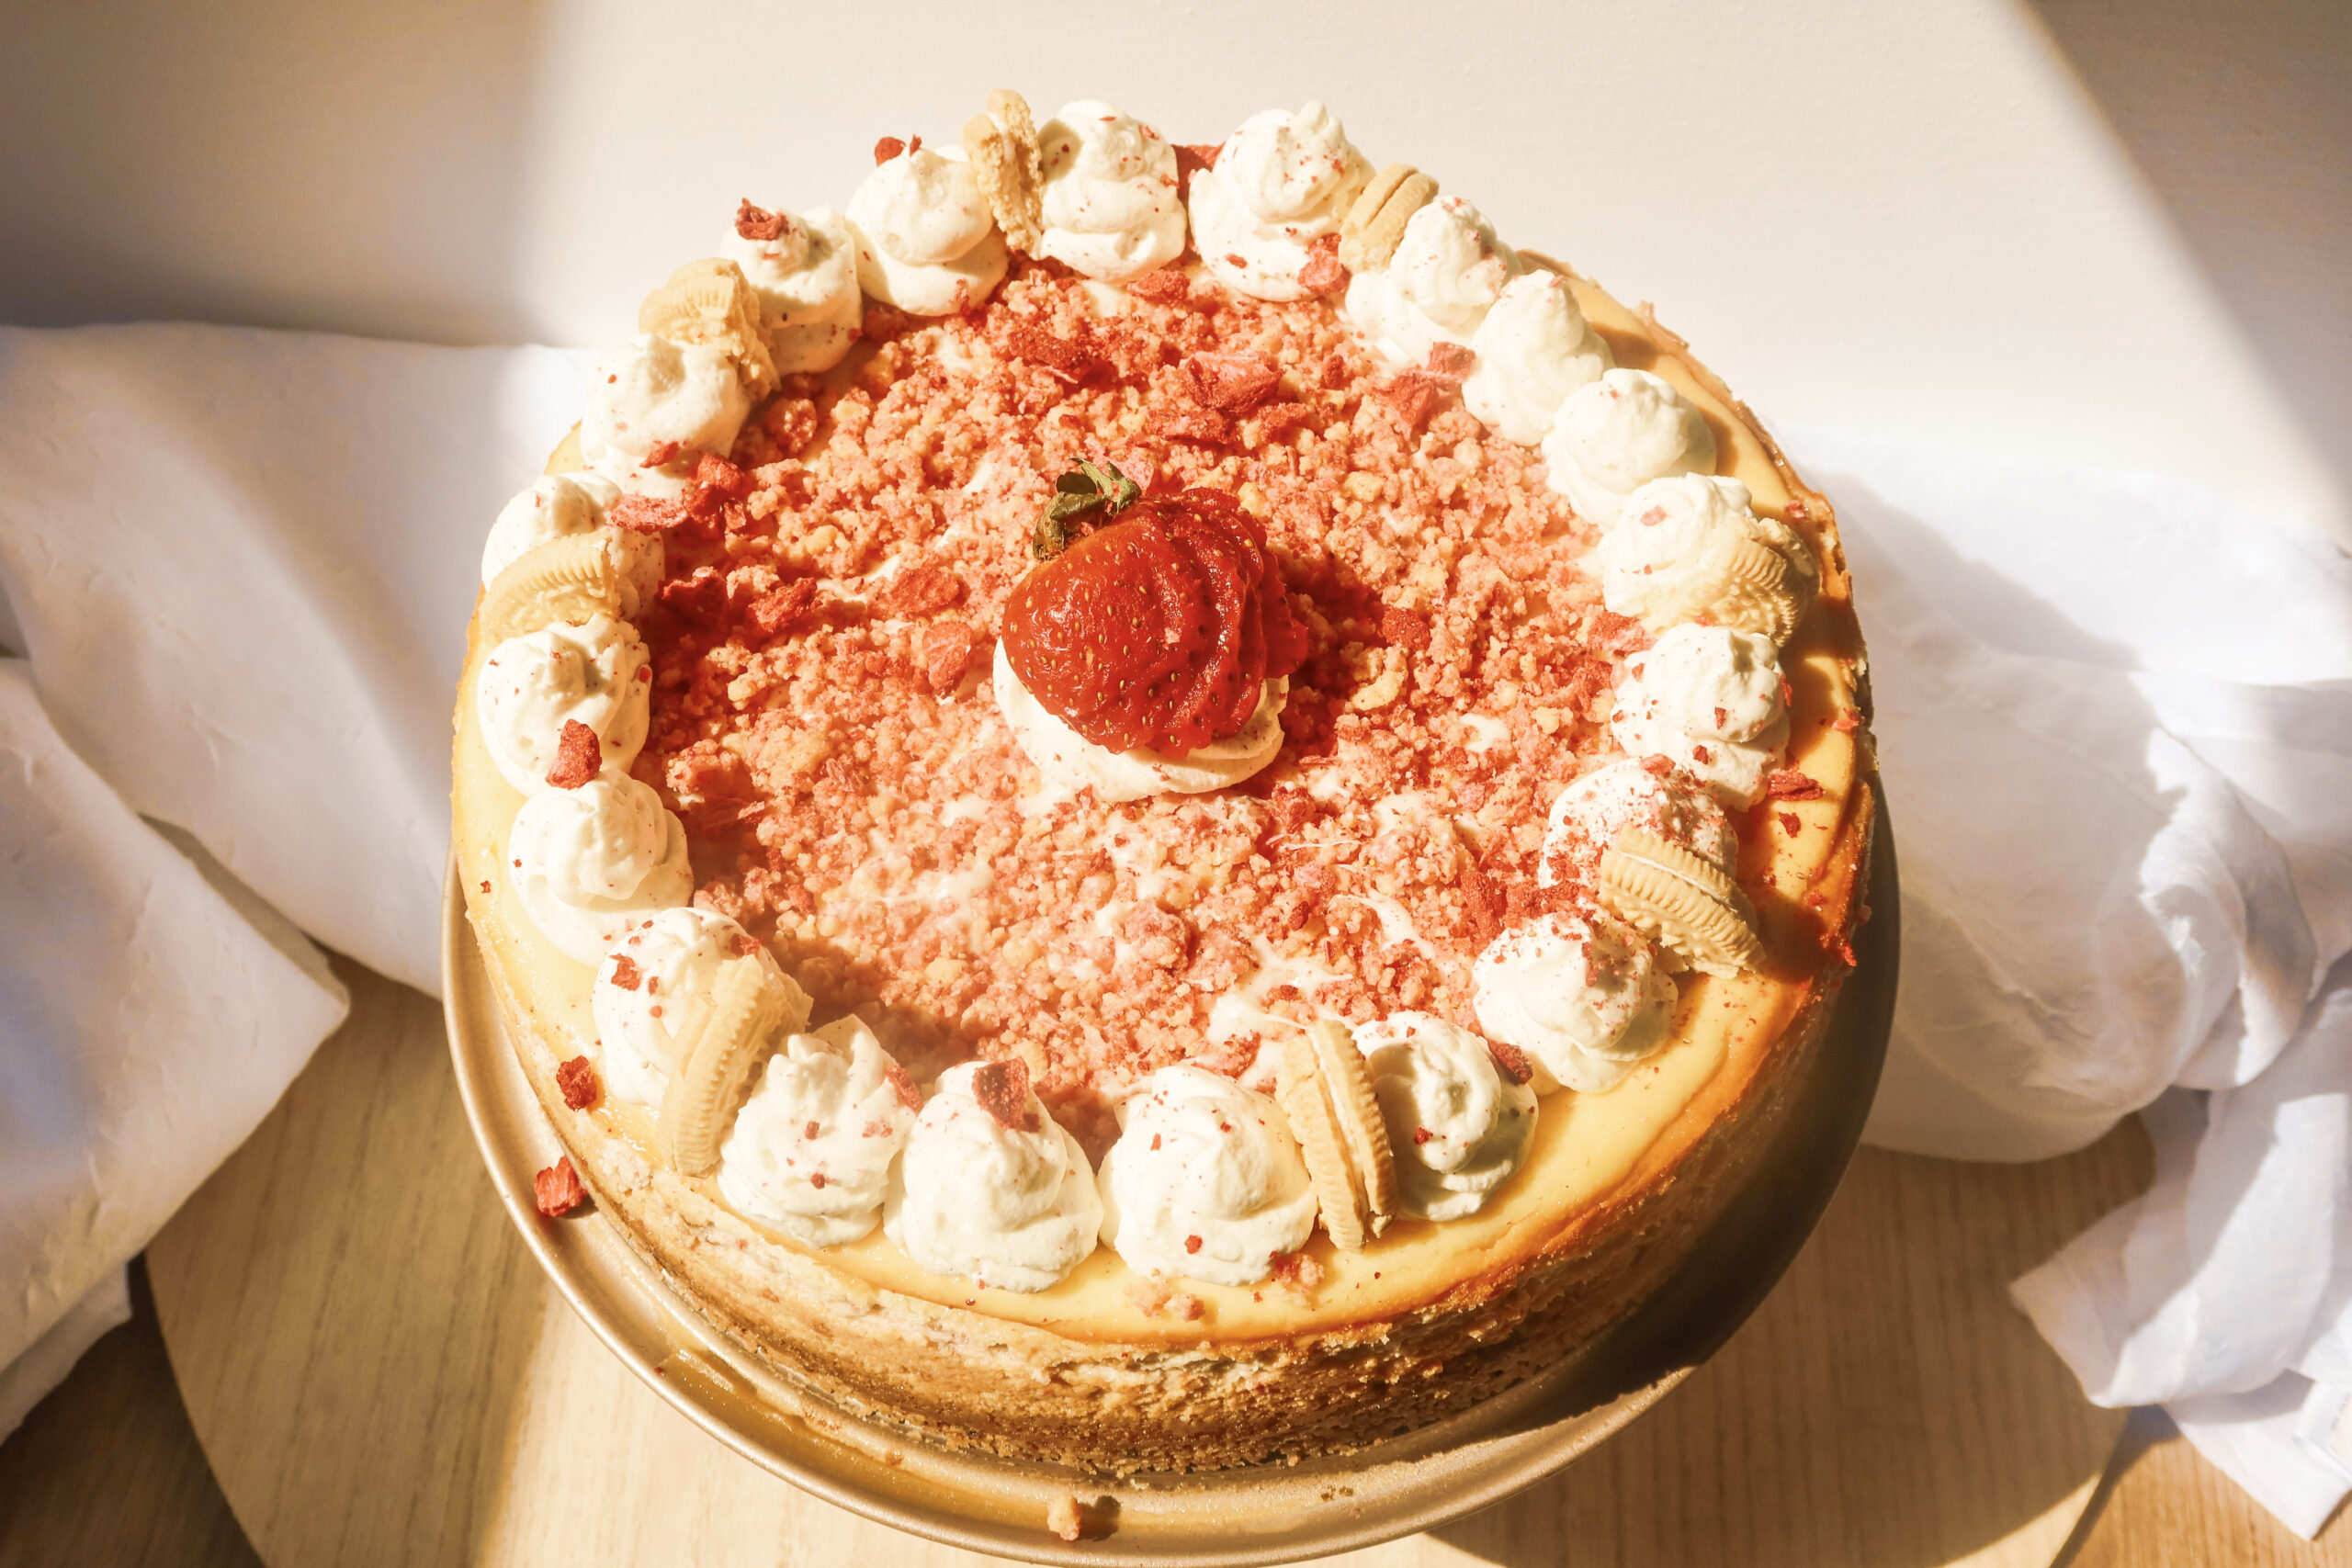
GF Strawberry Crunch Cheesecake
If you’re looking for a show-stopping dessert that combines creamy indulgence with a satisfying crunch, this Gluten-Free Strawberry Crunch Cheesecake is it. With a rich, velvety cheesecake filling layered over a strawberry-infused golden Oreo crust and topped with a delightful strawberry crunch, every bite is an explosion of flavor and texture. Whether it’s a family gathering, a special celebration, or a weekend treat, this cheesecake is bound to impress your guests and become a new favorite.
Ingredient
Strawberry Crunch Crust
Cheesecake Filling
Strawberry Layer
Strawberry Crunch Topping
Preparation
-
Crust
- Preheat the oven to 350 °F.
- In a food processor, pulse 3 Cups (405g) of Gluten Free Golden Oreos, pour into a bowl.
- In the same food processor, pulse ¼ Cup Freeze Dried Strawberries. Add them in with the Gluten Free Golden Oreos.
- Melt ½ Cup (110g) Unsalted Butter in the microwave for 30 seconds, or until it's completely melted. Pour into a bowl with other ingredients.
- Mix until it gets a wet sand texture. Add to the greased and lined 9” inch cheesecake pan and press the crumble into the bottom of the pan and slightly up the side.
- Place the crust into the oven for 10 minutes or until slightly golden brown. Set to the side while the cheesecake batter is being prepared.
-
Cheesecake Filling
- In a mixing bow, cream the 4 (8oz) Blocks of Philadelphia Cream Cheese until it is whipped.
- Add in 1 ¼ Cup Sugar and mix until smooth and creamy.
- Add in 2 Tbsp of Cornstarch and blend until incorporated.
- Add in 3 Large Eggs + 1 Egg Yolk one at a time and mix until slightly combined.
- Pour in the 2 Tsp of Vanilla Bean extract. Mix until combined.
- Add in 1 Cup of room temperature Sour Cream. Give the cheesecake batter one final mix for about 2 minutes and separate the batter into separate bowls.
- In a food processor add in ½ Cup Strawberries, 2 Tbsp Sugar, and ¼ (34g) Freeze Dried Strawberries. Blend and add to one half of the split cream cheese batter.
- Mix batter until strawberries are blended into the batter.
- Grab the cooked cheesecake crust and add the vanilla cheesecake batter to the bottom of the pan. Spread until it's evenly distributed and the crust is covered.
- Add the strawberry batter on top of the vanilla batter and spread evenly.
- Tap the pan down a few times to release air bubbles.
- Lower the oven temperature to 325°F and boil about 4 Cups of water.
- Grab a pan and place it on the middle rack in the over. Take the boiling water and pour it into the pan.
- Quickly take the cheesecake pan and place it onto the top rack and close the oven door to create a steam bath for the cheesecake.
- Bake for 55 to 65 minutes.
- Once the cooking time is complete DO NOT remove the cheesecake from the oven. Crack the oven door open and let the cheesecake sit for another hour while it gradually cools.
- Once it cools in the oven, allow it to cool on the countertop for an additional 30 minutes before placing it into the refrigerator 4-6 hours minimum.
-
Strawberry Crunch Topping
- In a food processor, blend ¼ Cup Freeze Dried Strawberries, ½ Cup Gluten Free Golden Oreos together.
- Melt ¼ Cup of butter in a microwave safe dish.
- In a bowl combine the freeze dried strawberries, the golden oreos, butter and 1 Tbsp of Sugar.
- Mix until clumps form.
-
Cheesecake Assembly
- Remove your cheesecake from the refrigerator and dab off any extra moisture with a paper towel.
- Place the almond bark (white chocolate) into the microwave at 30 second intervals until melted.
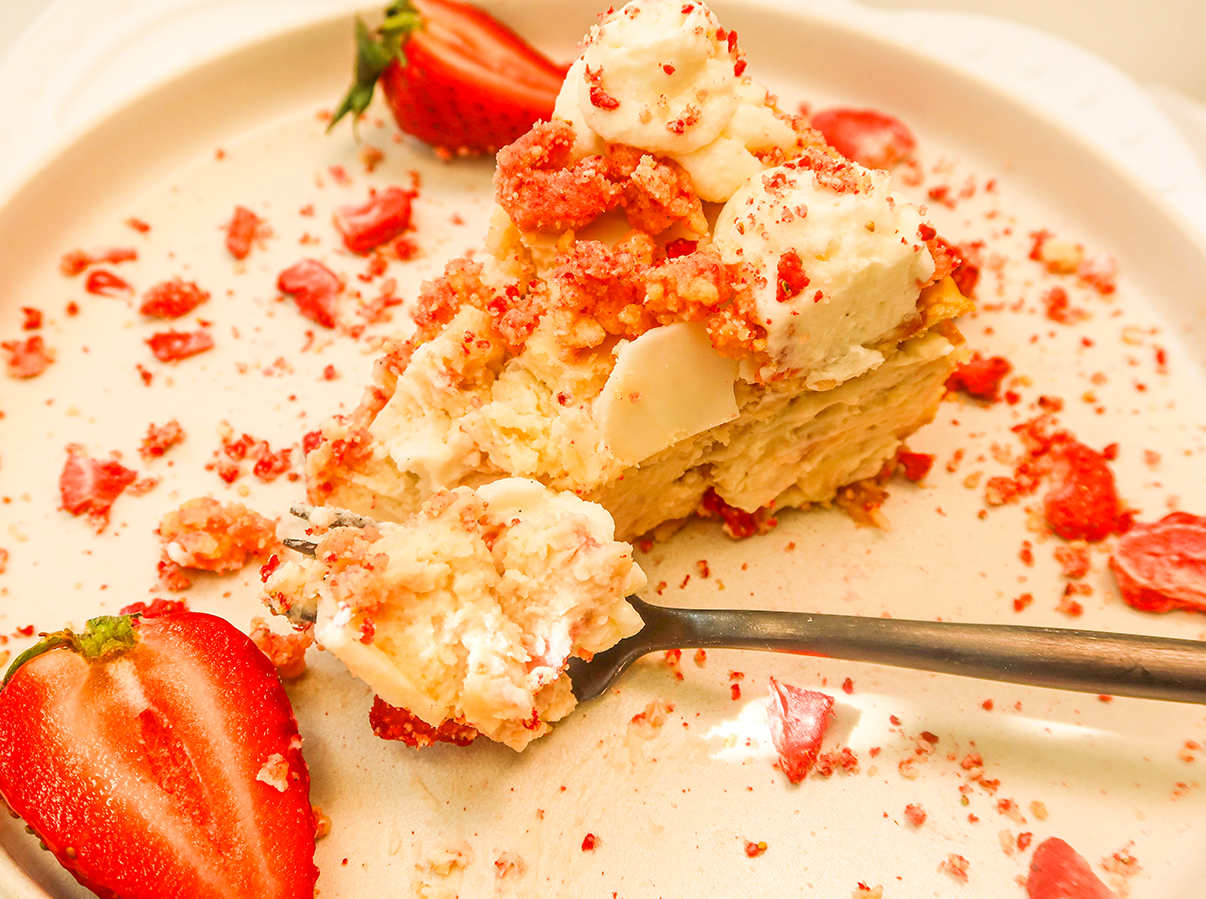
- Moving quickly, pour the almond bark onto the cheesecake and spread in an even layer. Quickly sprinkle the strawberry crunch topping and pat into the melted chocolate. This will give your cheesecake a crunchy top layer.
- Top with homemade, or store bought, whipped cream and sprinkle freeze dried strawberries across the top.
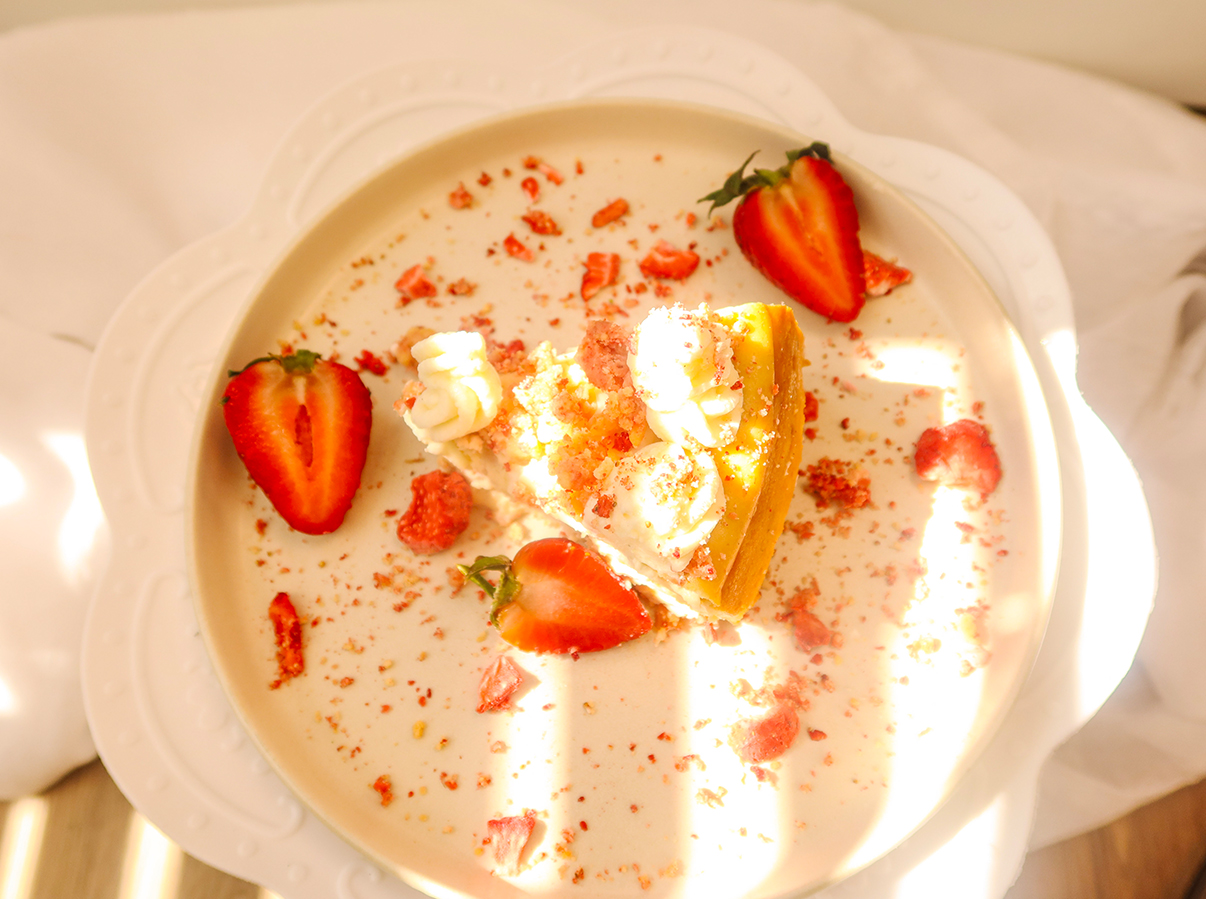
- Slice and serve!
Note
Room Temperature Ingredients:
Ensure your cream cheese, eggs, and sour cream are at room temperature before mixing. This helps create a smooth and lump-free cheesecake
batter.
Steam Bath for Creaminess: The steam bath method keeps your cheesecake moist and prevents cracks on the surface. Be careful not to get water into the cheesecake pan by wrapping it with aluminum foil if needed.
Cooling Gradually: After baking, allow the cheesecake to cool in the oven with the door slightly ajar. This gradual temperature change helps prevent the top from cracking.(This cheesecake has a lot of moisture in it so it will be very hard to keep from cracking, plus cracked cheesecake tastes the same as uncracked cheesecake).